KB5037422 is the out-of-band cumulative update to fix an LSASS memory leak on Windows Server 2022 Active Directory Domain Controllers that was inadvertently introduced in the March 2024 monthly cumulative update. The memory leak causes lsass.exe to crash and this makes the Domain Controller reboot as LSASS is a critical system process.
There do not appear to be any LSASS problems with Windows Server 2019, and no fix is currently available. For Windows Server 2016, the out-of-band update is KB5037423. For Windows Server 2012 R2 (if you’re still running that…) the out-of-band update is KB5037426.
Symptom
If your DC hasn’t been crashing, and you try and install the MSU for KB5037422 you may find that it fails to install with error 0x80024200B. In my case I also had an event 2004 logged in the System event log from Source: Microsoft-Windows-Resource-Exhaustion-Detector. Unsurprisingly, this referenced lsass.exe as consuming quite a large number of bytes of virtual memory.
Resolution
The fix was simple: reboot the DC then immediately install the update. This worked fine, and I’ve not yet seen the virtual memory usage creeping back up as it did before the KB5037422 update was installed.
About mid-May 2023 Store version 22303.1401.5.0 was released, and it now has an interesting new AppLocker integartion capability. Sadly it’s been botched in this initial release, but beggars can’t be choosers.
Store version
To find the store version (at the moment):
Either right-click the Store on the Start Menu and choose App settings, or
In the Store app itself, click on the user icon to the top right then click Settings
To get the new (broken) functionality you need to be on version 22303.1401.5.0.
What’s better
Before this Store version you could use AppLocker Packaged app Rules to block the installation of apps from the Microsoft Store, but the Store was completely oblivious to this. It’d happily let you try and install any app you chose, but then fail with a not-helpful “something went wrong” type message when it tried to install it. The whole thing was not very nice, as users had no idea if an app had been approved or not. Additionally, the not-really-installed app would keep generating AppLocker event 8025 in the Microsoft-Windows-AppLocker/Packaged app-Deployment event log saying that it was prevented from running.
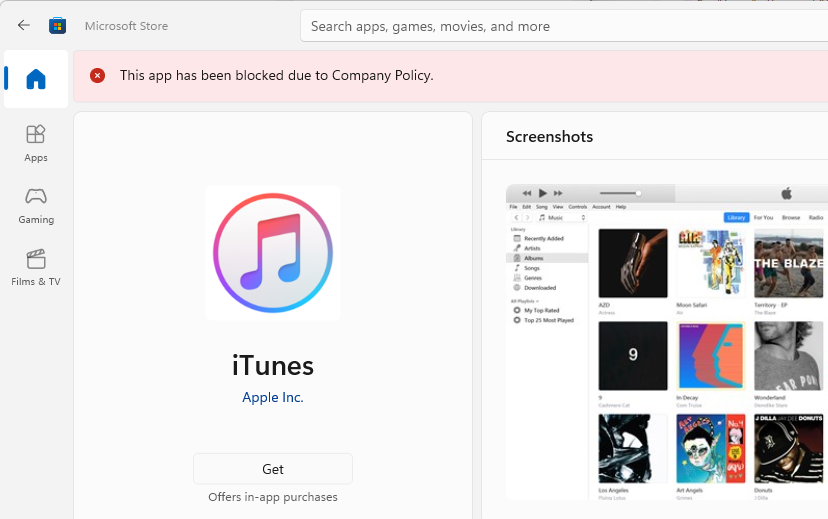
Now, however, you get a nice pink bar at the top of the app’s page in the Store saying:
This app has been blocked due to Company Policy.
What’s worse
The problem is that you may well find that all apps are blocked! Even ones that you have an AppLocker rule to allow! Less than ideal.
By default, when you use the Group Policy Management Console (GPMC) to create a new AppLocker Packaged app Rule you have probably been using the option to Use an installed packaged app as a reference. This is pretty easy to use, and by default selects the option to say that the currently installed version of the app, or higher, can be installed and used.
The problem is that in this initial implementation of the AppLocker-aware Store, Microsoft have botched the version checking. All apps get checked in AppLocker with a version of 0.0.0.0 instead of whatever version is currently available in the Store. Thus – probably – all apps you’ve previously allowed with AppLocker at version >0.0.0.0 will be blocked.
How to fix this
With any luck Microsoft will fix this soon, but in the meantime the only option you have, assuming you want to keep using AppLocker (and what other choice do you have…) is to edit all your AppLocker rules for packaged apps and change the version number to 0.0.0.0 or higher. You can also use * or higher, but you need to delete the text for the existing version completely before the GPMC will let you type the * into the version box.
Users were complaining about DirectAccess problems this morning, and on testing myself, DA itself was connected, but I couldn’t access most things through it. But not all things were unavailable, some stuff worked.
Looking in the Remote Access Management console at Operations Status showed everything as green except IPSec, which had been Critical for about 12 hours. The details for IPSec said:
IPSec: Not working properly
Error:
There is no valid certificate to be used by IPSec which Chains to the root/intermediate certificate configured to be used by IPSec in the DirectAccess configuration.
Looking in certlm.msc in the Personal store I could indeed see that the DirectAccess IPSec certificate had recently expired.
This certificate should auto-renew, thanks to a group policy setting that tells all certificates on the server to auto-renew.
Trying to renew it via the GUI failed though, giving an error:
Cannot find a valid CSP in the local machine.
Solution
After originally setting up DirectAccess I wanted to make it a little more secure so reconfigured the IPSec certificate template to store the certificate on the TPM. And of course it didn’t occur to me, until this morning – five years later, that this same certificate profile is also used by the DirectAccess server itself.
My DA server is a Hyper-V VM running in a cluster. I’d previously configured the cluster to allow virtual TPMs to be accessible by all hosts in the cluster, so fixing my DirectAccess IPSec certificate problem was simply a case of shutting the DA VM down, ticking the box in the VM configuration Settings – Security – Enable Trusted Platform Module and starting the VM back up.
Sure enough, the certificate now auto-renewed and after a few minutes everything was working again.
The reason why some things were contactable and some were not depended on the management servers that were configured in DirectAccess. Things on that list were accessible, everything else was not.
This post is about a current issue that’s causing Windows 11 (and possibly 10) to remove it’s Enterprise licence and revert to Pro (aka Professional) edition.
This is a big problem if you rely on the Enterprise-only features such as DirectAccess VPN, as those features stop working when Windows stops being Enterprise edition.
How to diagnose if you have this problem
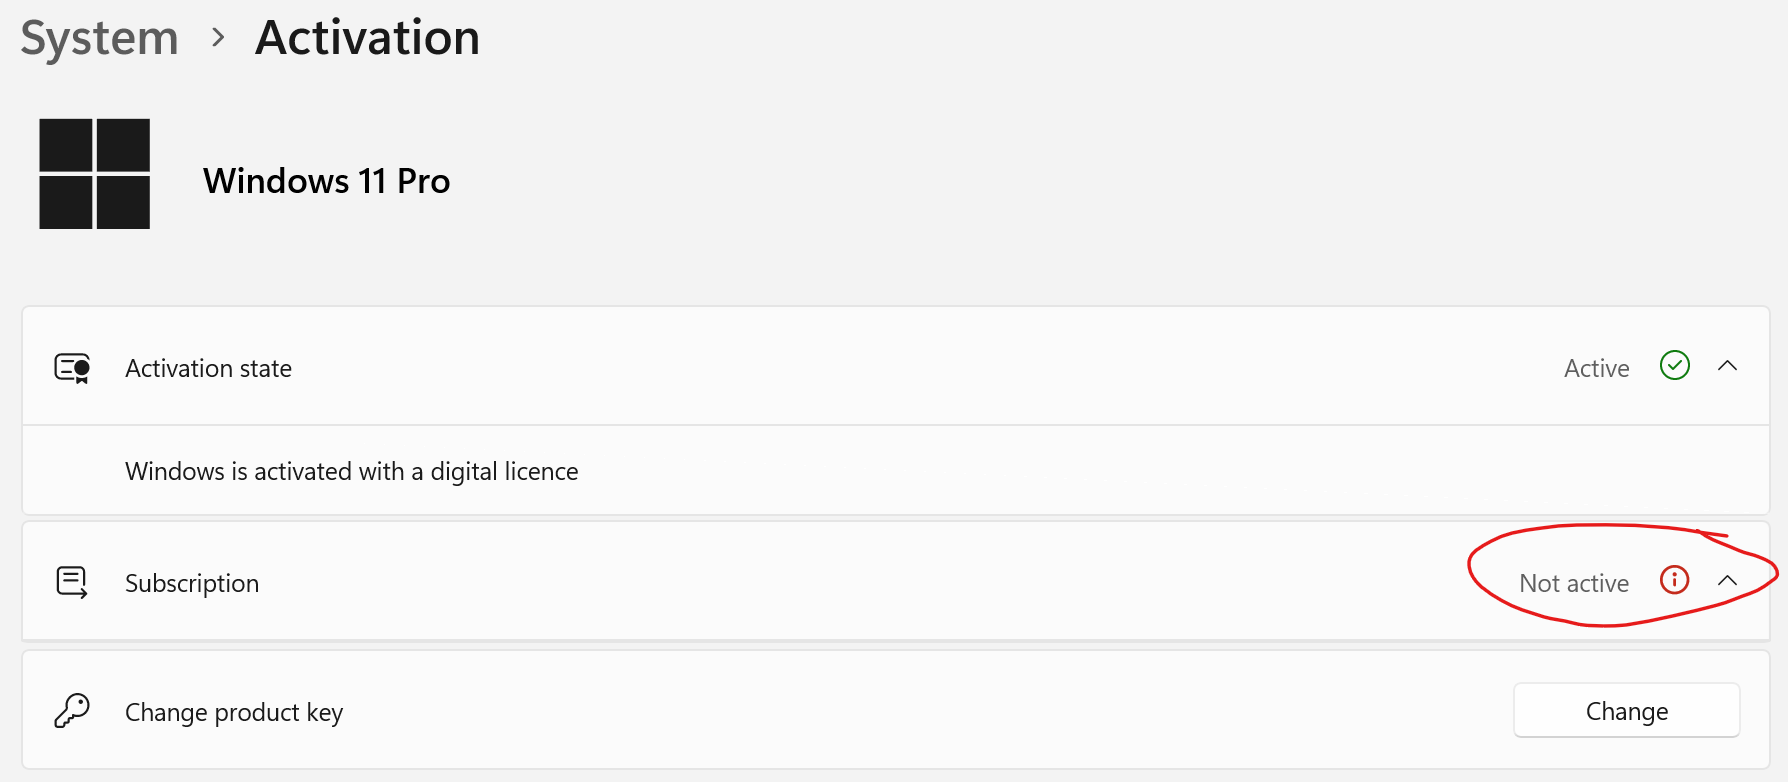
Check in Settings – System – Activation. If you are affected by this problem the Subscription state will show as Not active.
Further to this, look in the Microsoft-Windows-Client-Licensing/Admin event log for event 106 and see if you have two events logged as follows:
Licence successfully uninstalled for package microsoft.windows.pro.addon_8wekyb3d8bbwe (user NULL), licence Id 846a0dd9-ac5f-adf2-ee9e-94da46c955ce, file Id 80ce496d-52c0-2a23-7f0b-1889e2f6b3af

Licence successfully uninstalled for package Microsoft.Windows.Pro.Addon_8wekyb3d8bbwe (user NULL), licence Id f737ad2b-1fb4-87b1-8f1e-d945ba186995, file Id e926d0ad-bc61-27a1-27e8-704d2edcda9a
That Windows.Pro.Addon is your Enterprise Edition upgrade. Or was ;-)
Now go and check in your AzureAD Sign-in logs. Go to User sign-ins (non-interactive) and filer for the application: Universal Store Native Client. You’ll see nothing but failures, starting today, with the following details:
Status
Failure
Sign-in error code
65002
Failure reason
Consent between first party application ‘{applicationId}’ and first party resource ‘{resourceId}’ must be configured via preauthorization – applications owned and operated by Microsoft must get approval from the API owner before requesting tokens for that API.
Additional Details
A developer in your tenant may be attempting to reuse an App ID owned by Microsoft. This error prevents them from impersonating a Microsoft application to call other APIs. They must move to another app ID they register in portal.azure.com.
Application
Universal Store Native Client
Application ID
268761a2-03f3-40df-8a8b-c3db24145b6b
Resource
Windows Store for Business
Resource ID
45a330b1-b1ec-4cc1-9161-9f03992aa49f
Sign-in failure details
Resolution
I logged a support request with Microsoft and they were aware of the problem and were working on it. It is issue MO484759. This issue is now resolved. After being on for about six minutes I had an event ID 117 logged in the Microsoft-Windows-Client-Licensing/Admin event log showing that the license was back:
Application licence successfully installed.
Package: microsoft.windows.pro.addon_8wekyb3d8bbwe
User Id (if available): NULL
License Id: 846a0dd9-ac5f-adf2-ee9e-94da46c955ce
Associate Id: 846a0dd9-ac5f-adf2-ee9e-94da46c955ce
And sure enough, checking in the Activation status via Settings shows that I’m back up to Enterprise again. It does still show that my Subscription is Not active but I’m guessing that’ll be sorted after a reboot…
Potential workaround
Go to the Microsoft Licensing Business Centre and get a MAK (Multiple Activation Key) for Windows 11 Enterprise. You can then push this to the machines via some kind of automation method at your disposal. Install the MAK using the following command:
How long this code will remain in the machine for is anyone’s guess. Windows seems to revert to a generic activation code ending 3V66T after “a while”.
If you’ve had this problem for more than just today, do also check my other article about MFA getting in the way of Enterprise licensing.
So you’ve set up your new Microsoft 365 tenancy, or are tightening up the security on your existing one, and decide that you want to enforce Multi-Factor Authentication on all your users. Great idea. In theory. Allow me to elaborate.
Aside: We’re concerning ourselves with the type of MFA that can be enforced via Conditional Access Policies, and not the basic MFA that even a 365 Basic licence gets. You need to have an Azure AD P1 licence to get this, and legally you need it for all your users even though it might work if you only have one P1-licenced user.
Users to exclude
Like any other continuously evolving cloud system, 365 and Azure AD are not perfect and have glitches. What if a glitch causes MFA to stop working? How are you going to sign in as you admin account (you do have a separate admin account, right?) and temporarily disable MFA if MFA is also applying to your admin account? What most people tend to do is have a “break glass” admin account, i.e. one that you only use in emergencies, when all else fails. A bit like breaking the glass to open a fire door on a burning building.
So you probably want to create a separate global admin account, give it a really long password, and exclude that from your MFA policy.
Apps to exclude
This is one that a lot of people discover by trial and error, sadly. You set up your CAP to enforce MFA and then notice after a while that things just aren’t working quite right. That’s because there are various things in Windows and other 365 functionality that aren’t compatible with MFA when applied to all users.
Universal Store Service APIs and Web Application
GUID: 45a330b1-b1ec-4cc1-9161-9f03992aa49f This is used by Windows to check the per-user licensing your purchased – if your 365 plan includes that. This is probably most relevant to people with an Enterprise plan (E3 or E5) or and Education plan.
Microsoft Azure Information Protection
GUID: 00000012-0000-0000-c000-000000000000 If you use AIP to encrypt files sent to external email addresses you need to add an MFA bypass for this. Otherwise external people can’t open the files – they need to set up MFA for your tenancy to view the DRM-protected files that AIP creates on the fly, but can’t because they don’t have an account in your tenancy.
Microsoft Intune
GUID: 0000000a-0000-0000-c000-000000000000 This and Microsoft Intune Enrollment are needed to allow corporate devices to enrol into Intune/MEM without you ending up in a catch 22: You’ll be prompted to set up MFA during the enrollment of the phone, but won’t be able to set up MFA because the phone hasn’t finished enrollment and so you can’t launch the Microsoft Authenticator app. It might be possibly to set up MFA using a different method, but you really want to be using the Authenticator-prompt method as it’s more secure. Especially if you turn on number matching.
Microsoft Intune Enrollment
GUID: d4ebce55-015a-49b5-a083-c84d1797ae8c See above.
Do you know of any more good exclusions? Let me know in the comments with what you exclude and why.
From a business IT point of view, at the moment we’re a bit stuck when it comes to the Microsoft Store.
You hate it because it allows users to install all kinds of rubbish and unwanted apps onto their PCs, but you can’t block it because it’s increasingly being used to deliver not just the GUI front end for apps and utils that you rarely need (e.g. fiddling with the WiFi settings) but also entire drivers that you can’t get from anywhere else (e.g. Waves MaxxAudio).
And you can’t use the Windows Store for Business on Windows 11. At all. The way I’m currently managing this, until Microsoft makes the situation better, is to use the Packaged app rules in AppLocker.
Now, to use AppLocker you need to be running an Enterprise (or Education) edition of Windows, so if you’ve got a 365 E3 or E5 licence you’re probably good to go.
Pro Tip
Make sure you’ve excluded the Universal Store Service APIs and Web Application (45a330b1-b1ec-4cc1-9161-9f03992aa49f) from any Conditional Access Policy that enforces MFA for your users, or Windows won’t reliably upgrade to from Professional edition to Enterprise. Check your Azure AD Sign-Ins logs for failures in the User sign-ins (non-interactive) category to verify this is all working properly. The Application name to look out for is called Universal Store Native Client (and hilariously, even though it’s not supported on Win11 and is being dropped for Win10, the Resource name is Windows Store for Business!).
AppLocker Rules
The problem with using AppLocker to manage modern apps (or packaged apps, or whatever you want to call them) is twofold:
1. It’s hard to do without a machine that you’re not applying the AppLocker policy to. The Group Policy Management MMC requires you either pick an already-installed app, or provide the .appx (or .msix) app installer file.
2. On Windows 11, increasingly core parts of the OS are being replaced with these apps, e.g. the Start Menu. This causes big problems if AppLocker ends up blocking those – and you often won’t know that something has changed until it’s too late.
Initially my approach was to just build a machine without AppLocker applied to it, add a rule for every app, and then keep an eye out for Event ID 8025 being logged to see what new apps were being blocked. But because of point 2 above, I am now using the following wildcard rule:
Unsurprisingly (sadly) Microsoft has not been consistent in signing core bits of the OS with the Microsoft Windows publisher, and you probably don’t want to allow everything signed by Microsoft Corporation because that’ll open up a whole load of unwanted stuff from the Store that your users could install. So you’ll still need to add some other specific rules that fall outside of the patterns above, and you’ll need the machine from point 1 above to do that from, just do that using the option to create a new rule using an installed packaged app as a reference.
You also need to keep an eye out for the following:
Annoyingly, AppLocker publisher rules don’t allow you to mix a wildcard with any other text. So you just need to monitor the stuff AppLocker is blocking and add individual rules for the two above when you see stuff pop up.
This was a fun start to the morning. My laptop running Windows 11 22H2 finished doing its reboots after the November 2022 updates (two reboots required this month) and I signed in as normal only to be greeted with no Start Menu/button and no buttons on the taskbar for any of the running applications that had auto-started (e.g. Teams). What’s left of the old notification area (aka system tray for you oldskool people) was showing, but the time and date and the new flyout notification panel was missing too.
I’ll cut to the cause and solution for me: AppLocker was blocking a new modern app with a package name of MicrosoftWindows.Client.Core. Its application name is Windows Feature Experience Pack (which is the same as another app with a package name of MicrosoftWindows.Client.CBS).
Looking in Event Viewer in the log Microsoft-Windows-AppLocker/Packaged app-Deployment sure enough there were quite a few errors (event ID 8025 in this log) saying that this app was prevented from running.
Solution
Adding a new AppLocker packaged app rule to allow this app to run and then doing a gpupdate /force fixed things.
Of course, this will only fix the problem for you if you are using AppLocker to restrict modern apps. Which at the moment is the only solution after some not-so-clever people at Microsoft decided to make Store apps unmanageable for business users in any other way. So now you’re left playing inverse whack-a-mole with AppLocker rules after they change something. This is why I release updates to myself and another colleague in IT before the rest of the organisation get them.
Tip
If you need to run gpmc.msc via UAC to fix this problem, hit Win-R and type gpmc.msc then press Ctrl-Shift-Enter and the UAC elevation process will be invoked.
I recently needed to convert a load of M4A audio files to the more widespread MP3 format. It turns out you can do this with VLC media player. So then it was just a matter of getting the right command line options and wrapping it with a Windows command prompt for statement to process all the files in a folder automatically.
This is what I came up with:
for /f "delims=." %i in ('dir /b *.m4a') do @start /wait "vlc" "c:\Program Files (x86)\VideoLAN\VLC\vlc.exe" --play-and-exit --sout "#transcode{vcodec=none,acodec=mp3,ab=384,channels=2,samplerate=44100}:file{dst='%i.mp3'}" "%i.m4a"
To use this, note the following:
You should have VLC installed in the standard location
Within the command prompt, change into the folder containing your M4A files (using the cd command)
Don’t have any files with single quotes (aka apostrophes) or dots in their names, aside from the dot used for the file extension.
We’re using CBR (constant bit rate) at 384kbps and 44.1kHz sample rate. I usually prefer to use VBR and a specific quality value when encoding MP3 with the LAME codec, but that seemed like to much hassle, so CBR it is this time.
The MP3 files will be placed in the same folder as the M4A files, just with a .mp3 extension.
You’ll probably want to process the resulting MP3 files to add metadata, I use MP3Tag and the Convert – Filename to Tag option.
How does it work?
The for /f command is quite powerful, we’re using it to run the command dir /b *.m4a in whatever folder we’re currently in, and then do stuff with the result.
That dir command gives you a list of all the .m4a commands in the folder, giving just the list of filenames, and no other “normally useful” output like file size, number of files, etc.
We then tell for to split each line of output at the dot (file extension separator) and put the first bit (the file name minus the extension) into a variable called %i. That’s just a special variable format used by the for command, it could be any letter of the alphabet. We can then use the contents of that variable later, as you can see.
for then runs a long command line, prefixed by @ which stops the command line text being echoed to the screen for tidiness.
We use the start /wait command to ensure we only have one conversion running at a time, and call vlc.exe. To make this work we also have to use VLC’s –play-and-exit switch to make it quit after doing a conversion.
Then there’s some fiddly stuff I mainly got from the VLC help pages, though they’re pretty scant when it comes to information on this.
Anyway, with the few caveats above this works nicely for me, and hopefully for you too.
This is one of those terrible user experience design issues that you see all over the place these days. Yes, Microsoft stuff is full of them, especially the cloud services, but then so is pretty much everything else. Sarcasm is turned up to 11 on this post.
Your users need to be able to share links to items in OneDrive for Business just via an anonymous link. Yes this is terrible from a security point of view, but business needs must and all that.
Well the sliders are both all the way to the top, Content can be shared with anyone, so you think to yourself “WTF?”.
It all looks good, and you notice that you need to be in a group to share externally, but you (or the user with the issue) are in the group and have been for ages.
Well, due to some unnecessarily bad design, you also need to click the Manage security groups button. Because in there you can set the degree to which members of that group can share externally. Those pretty sliders that say Anyone? Zero effect now. Displaying the group name and the permissions in a table right from the External Sharing policy page? Nope.
So change that Can share with setting to Anyone, remember to click Save down the bottom, and after some undefined period of time (Seconds, minutes, hours. Days even?), you might find that users can now finally select the Anyone with the link sharing option. It might be worth getting them to hit F5 to refresh the OneDrive browser page – but this might not be necessary.
But before you leave the SharePoint Online Sharing Policies page, scroll a little further down and check out the section titled Choose expiration and permissions options for Anyone links – you might want to change those settings too:
These settings control the availability of the Allow editing checkbox for users once they’ve chosen the link settings during the sharing process:
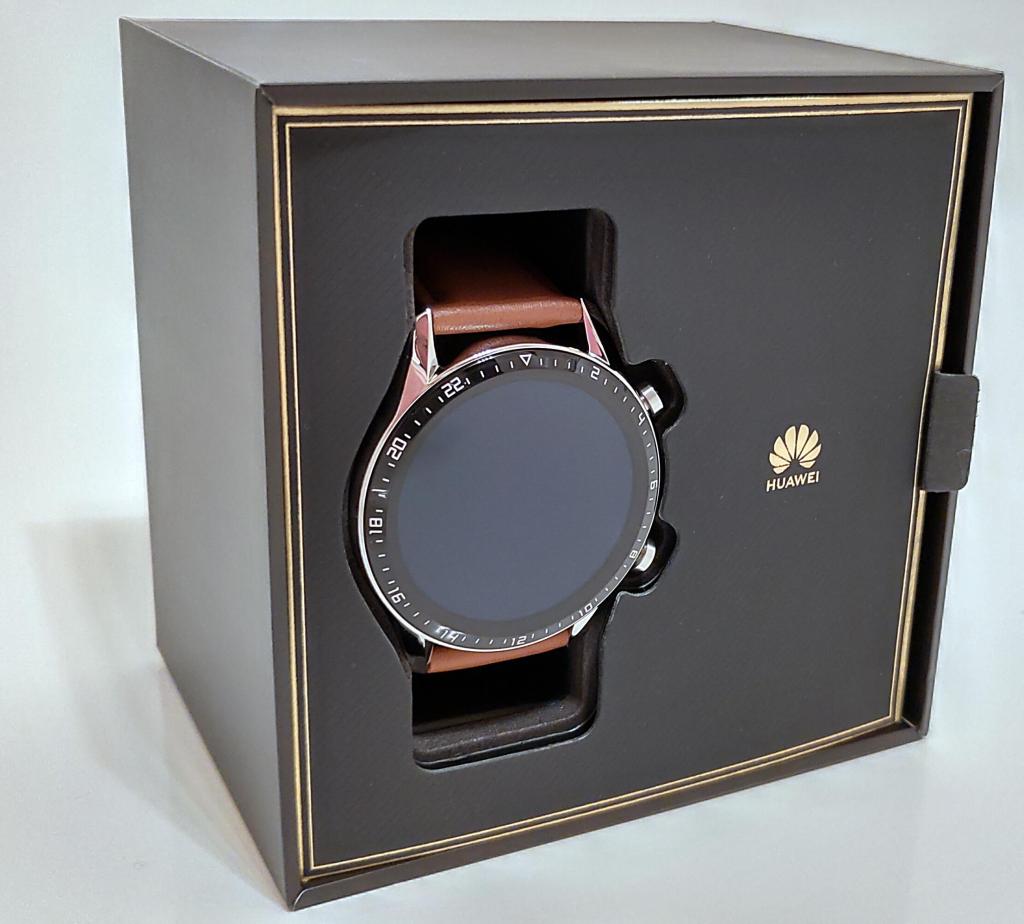
The Huawei Watch GT2 is a smartwatch that seems to have a lot going for it. I took delivery of mine earlier today, the 46mm model, so here’s my first impressions. This was a reduced-price full retail watch via The Insiders.
Packaging
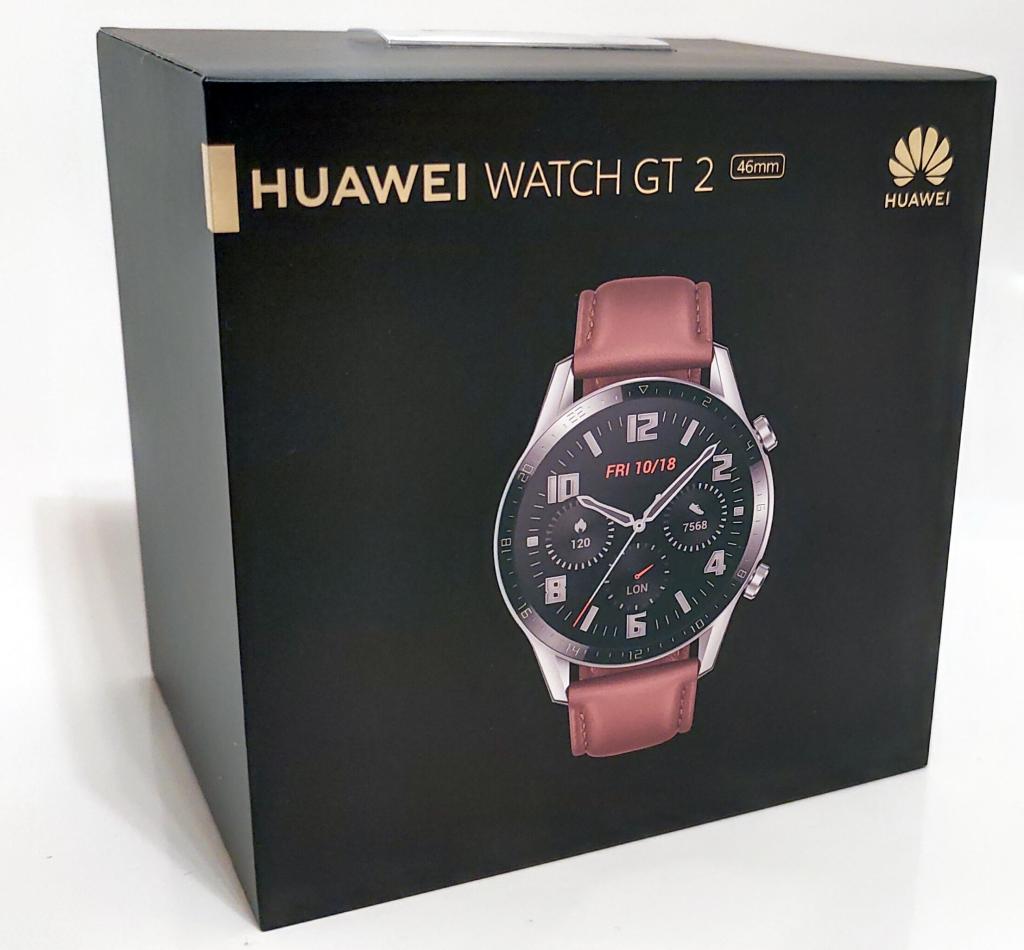
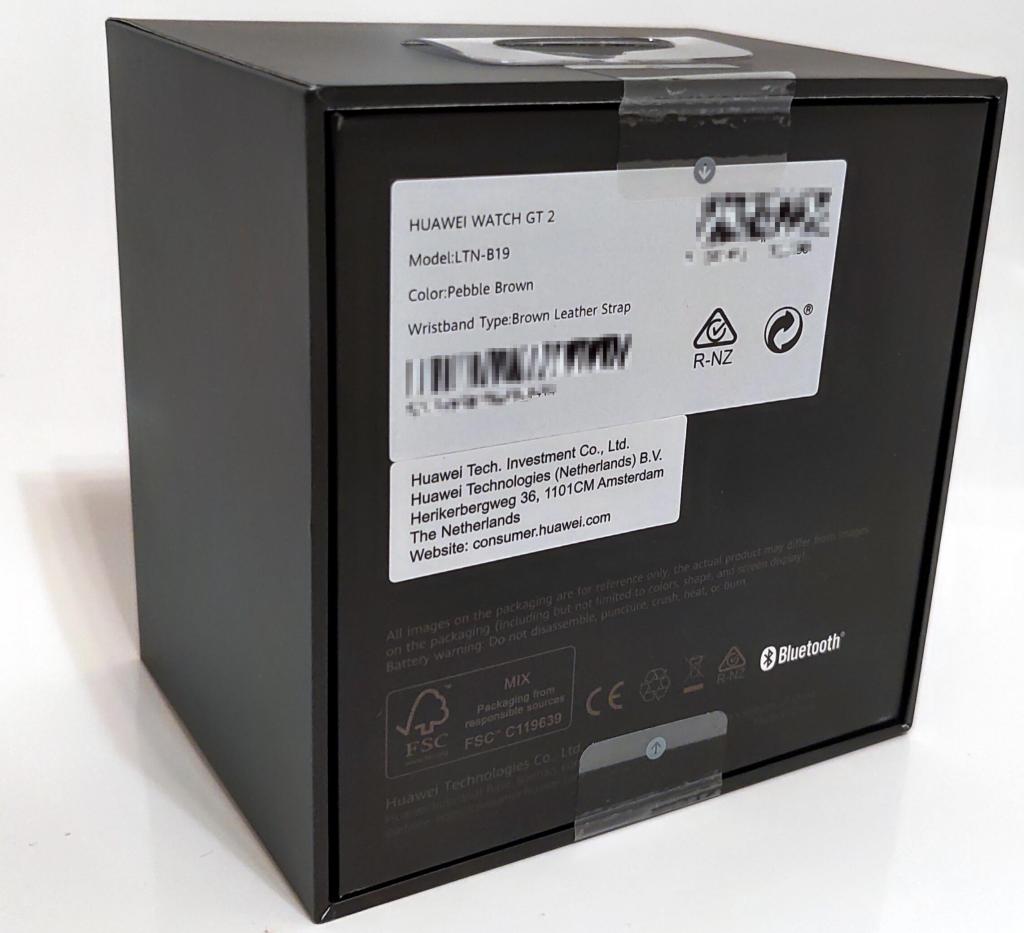
The Huawei Watch GT2 box, front, back and with the watch inside
The packaging is pretty smart: matte black cardboard with gold writing on the front/top and two tamper-evident seals. On the back/bottom is a label with the watch serial number and other information.
Removing the security seals (causing the word VOID to be left behind on the box) allows you to lift off the cover and reveal the interior, with the watch itself the only thing on view aside from a small gold Huawei logo.
Unpacking
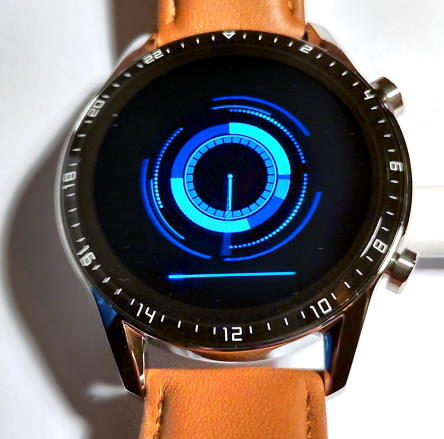
First impressions at this point are that the watch face looks really nice. The 1.39 inch AMOLED glass display is dark and almost impossibly smooth. The metal – I chose the stainless steel “Pebble Brown” finish watch – is perfectly polished on the top but has a slightly more satin-type finish on the sides.
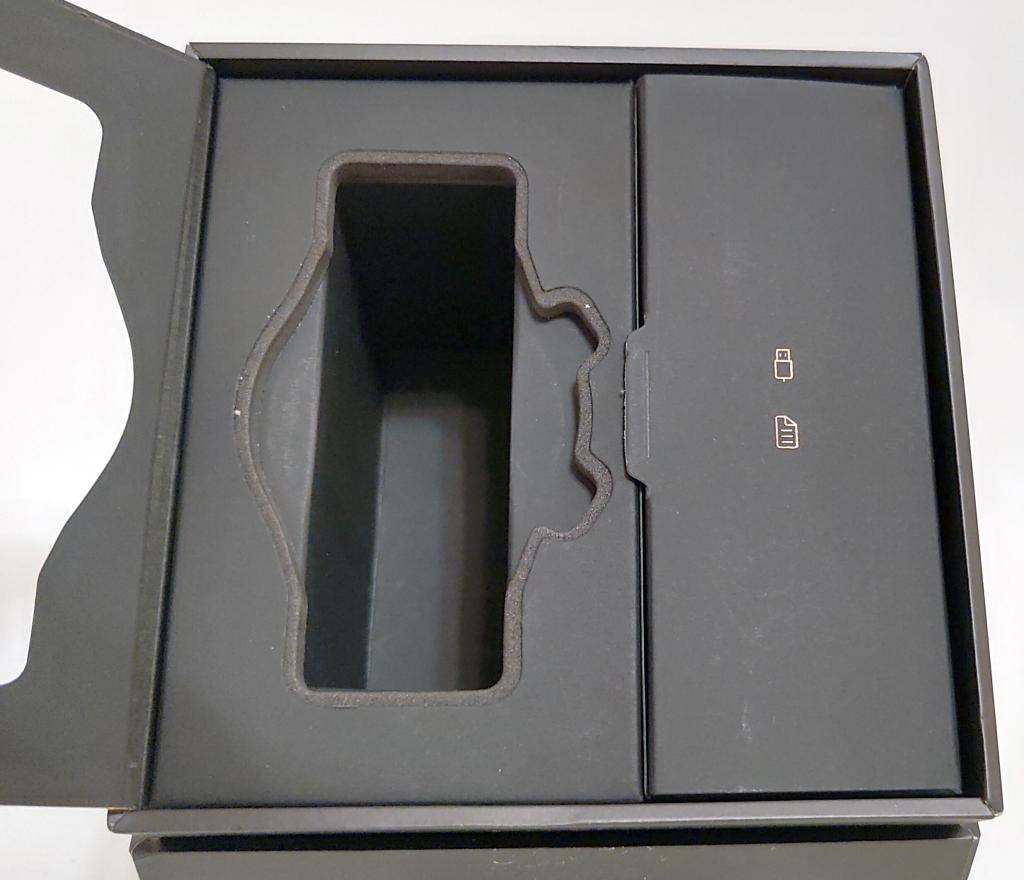
Inside the box and the accessories compartments
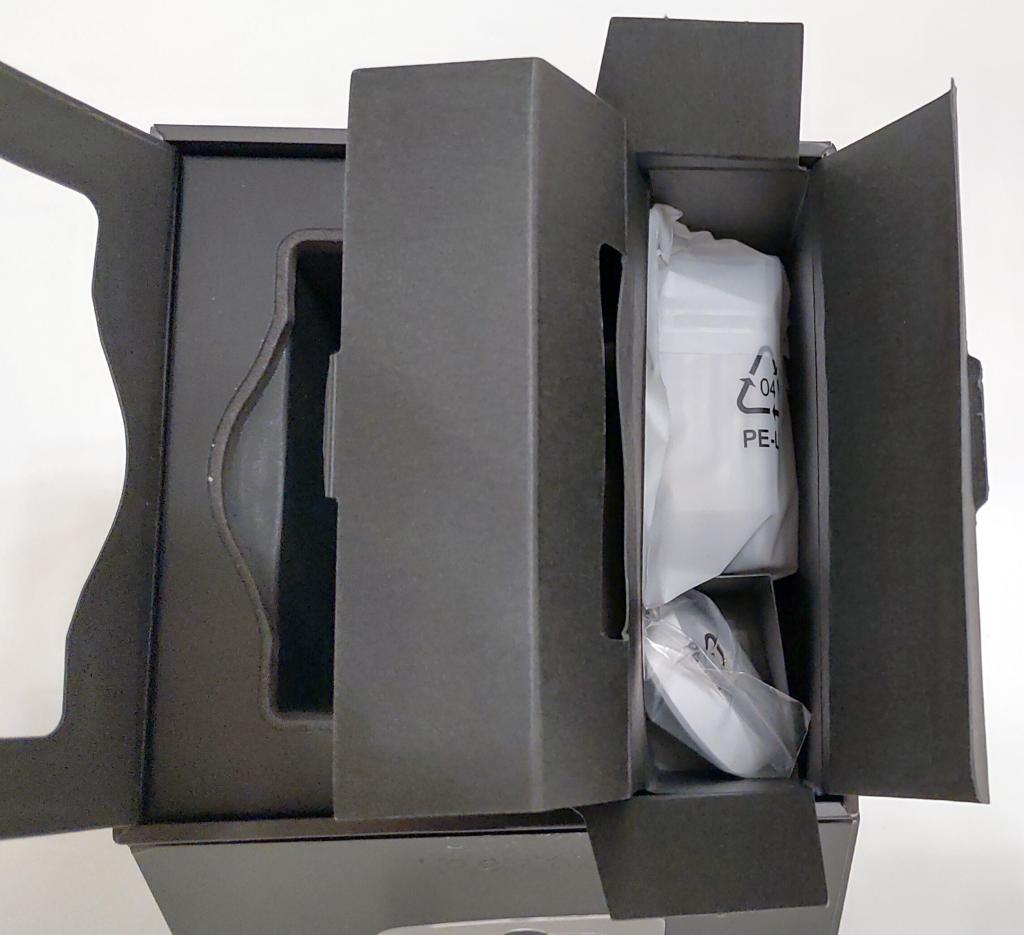
Remove the watch and lift open the flap with the gold USB plug and document symbols on to get to the first accessories compartment. This presents a nice surprise: A black silicone wrist strap. This is also where you’ll find the Quick Start Guide and Warranty Card booklets. Once those have all been removed you can open another flap to get to the second accessories compartment where you’ll find the charging base and a USB A to C cable. There’s no mains charger included, but who needs any more of those by now?
I was really pleased to see the USB C connector on the charging base as it means I don;t have to take any extra cables with me when I go away, all I need is the little charging base itself – my phone already uses USB C.
The black strap was unexpected and feels really nice. Sadly unlike the brown faux-leather one which looks and feels a bit cheap and lets the side down compared to the watch itself. I’m using the brown strap for the moment because I want to see how well it holds up in the swimming pool, but I may well swap it for the black one in the future, we’ll see.
Everything in the Huawei Watch GT2 box
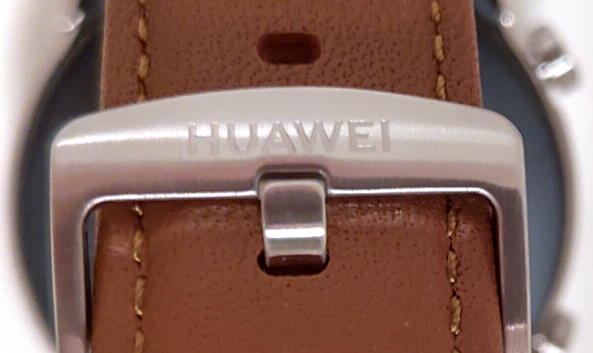
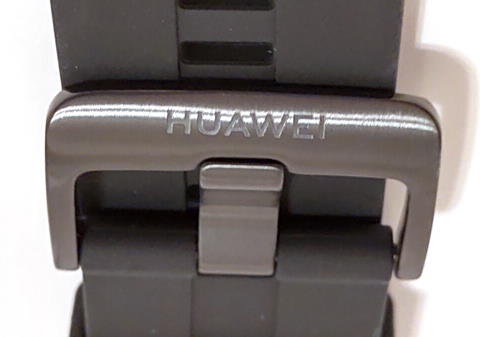
There’s a nice bit of detail on both watch straps, the word HUAWEI etched into the buckle.
Engraved text on strap buckles
The charger base is pretty light and doesn’t have any kind of anti-skid rubber or foam on the bottom so tends to slide around a bit. That’s fairly easily fixed with a bit of Blu Tack or something though.
Powering up
After a quick read through effectively one page of practical information in the Quick Start Guide the first thing to do is to charge the watch. The guide doesn’t tell you to do this, but it does tell you how to do this, however I want to test the battery life so want to make sure I start with a 100% full battery.
Huawei Watch GT2 on the charging base
I plugged the charging base into the supplied cable and then plugged that into one of my existing USB chargers. The watch snaps onto the base via magnets in the base, and it seems to make good contact. The charging pins are both sprung and gold plated to reduce oxidisation so should keep making good contact for a while.
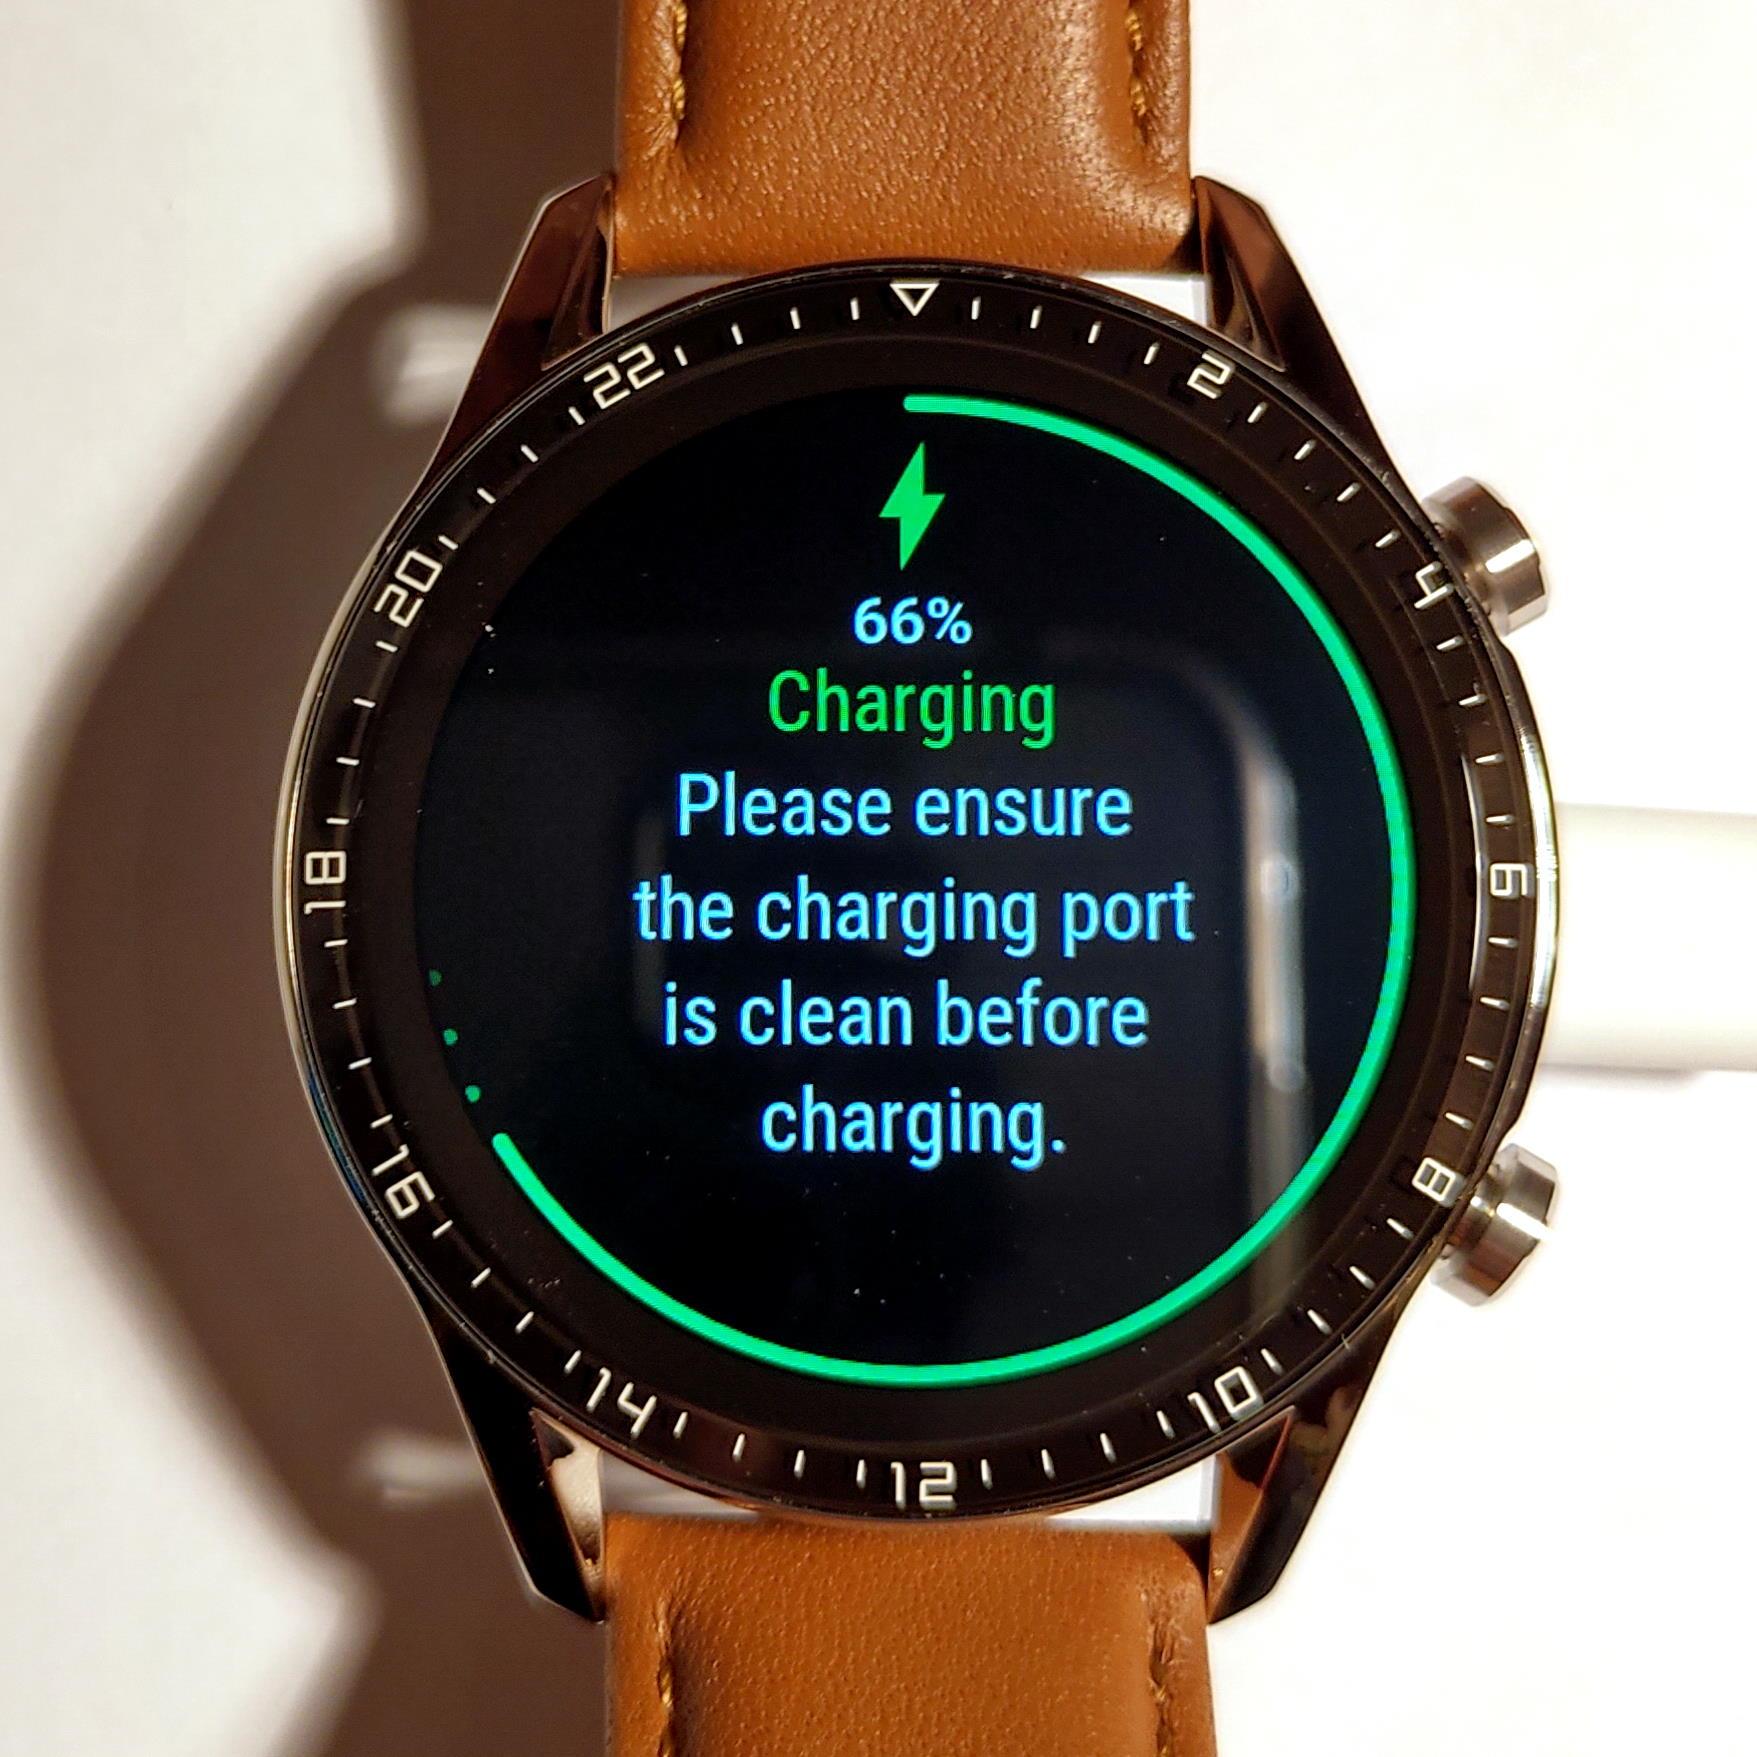
The GT2 screen lit up once I turned the charger on and showed that the battery had 62% charge and was now charging. The first thing you nitice is just how crisp and bright the AMOLED screen is. It’ll be interesting trying it outdoors in sunshine. I had a quick look through some of the screens whilst it was charging.
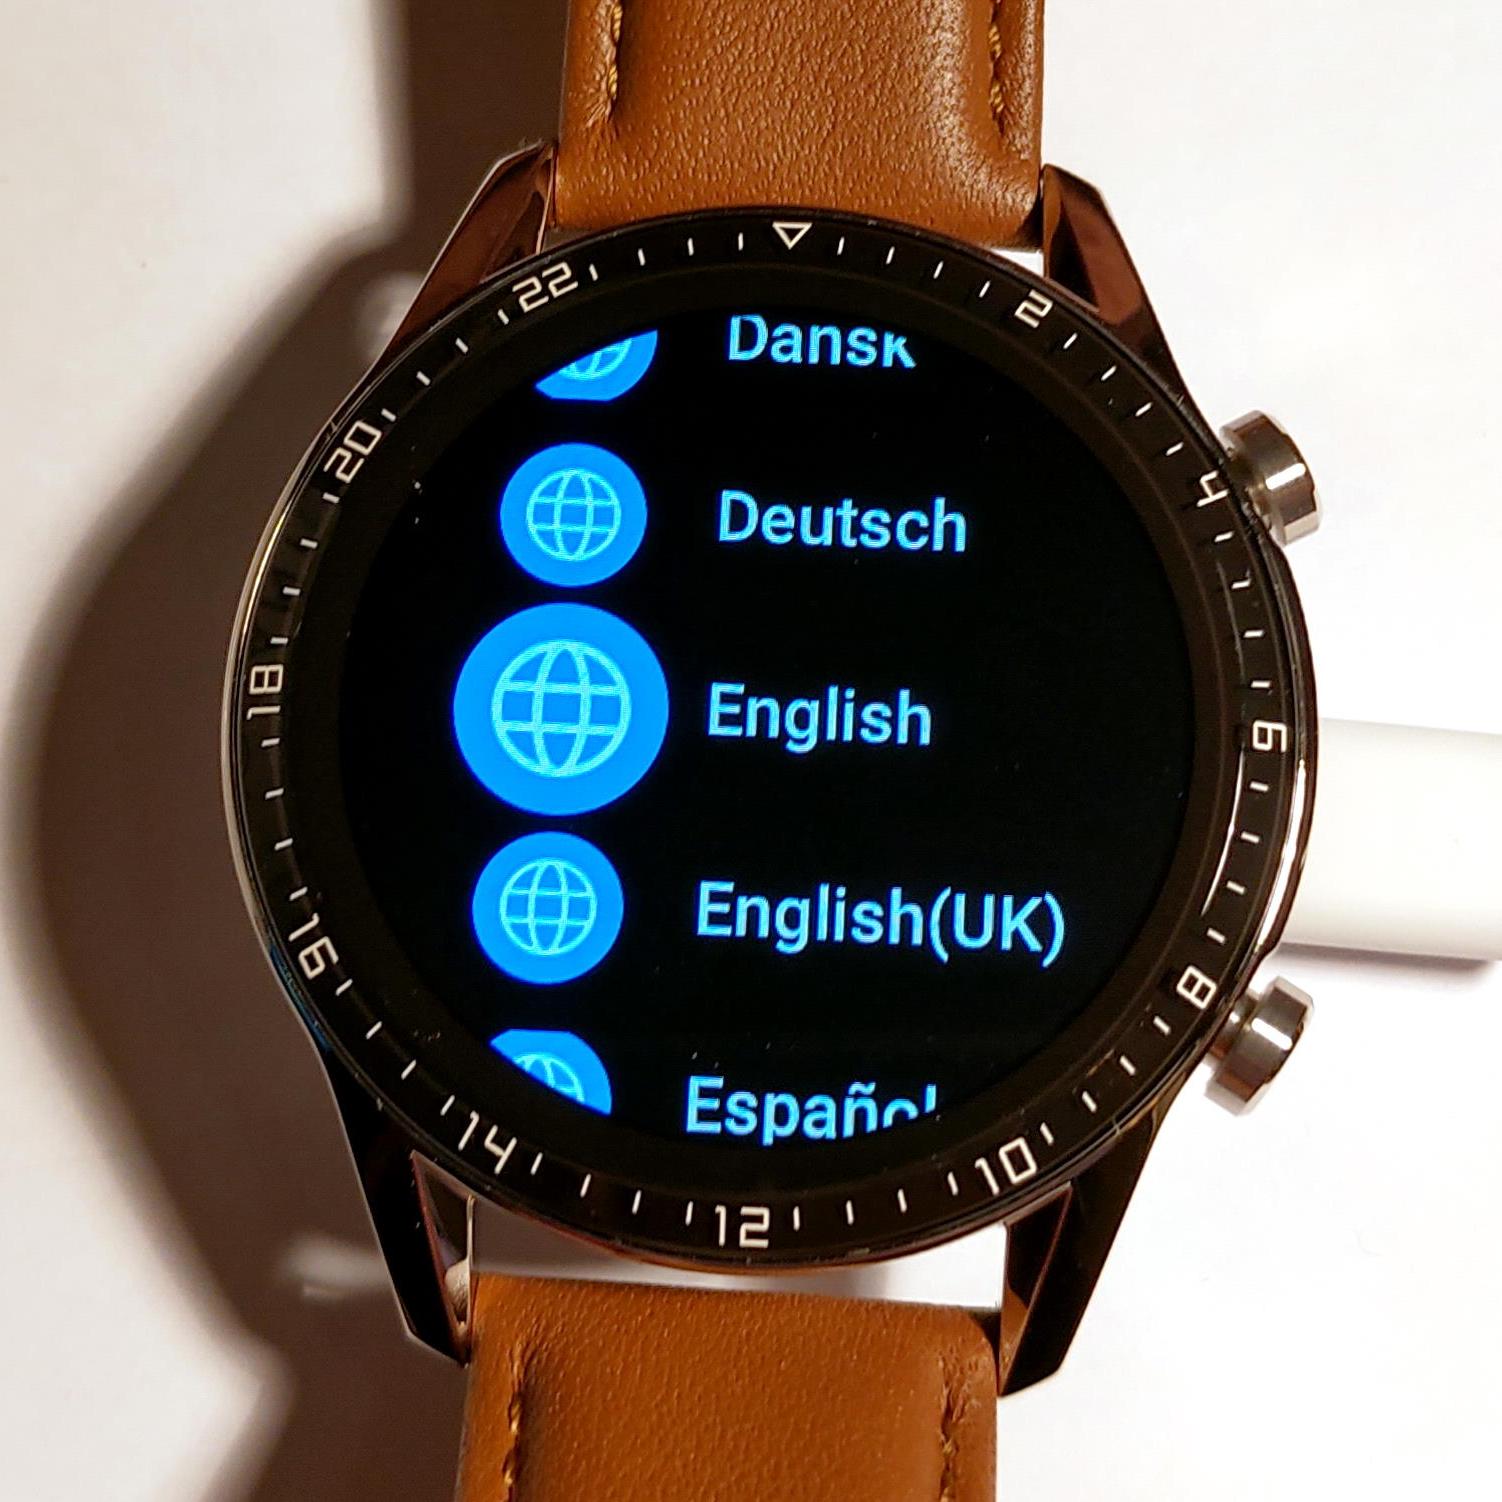
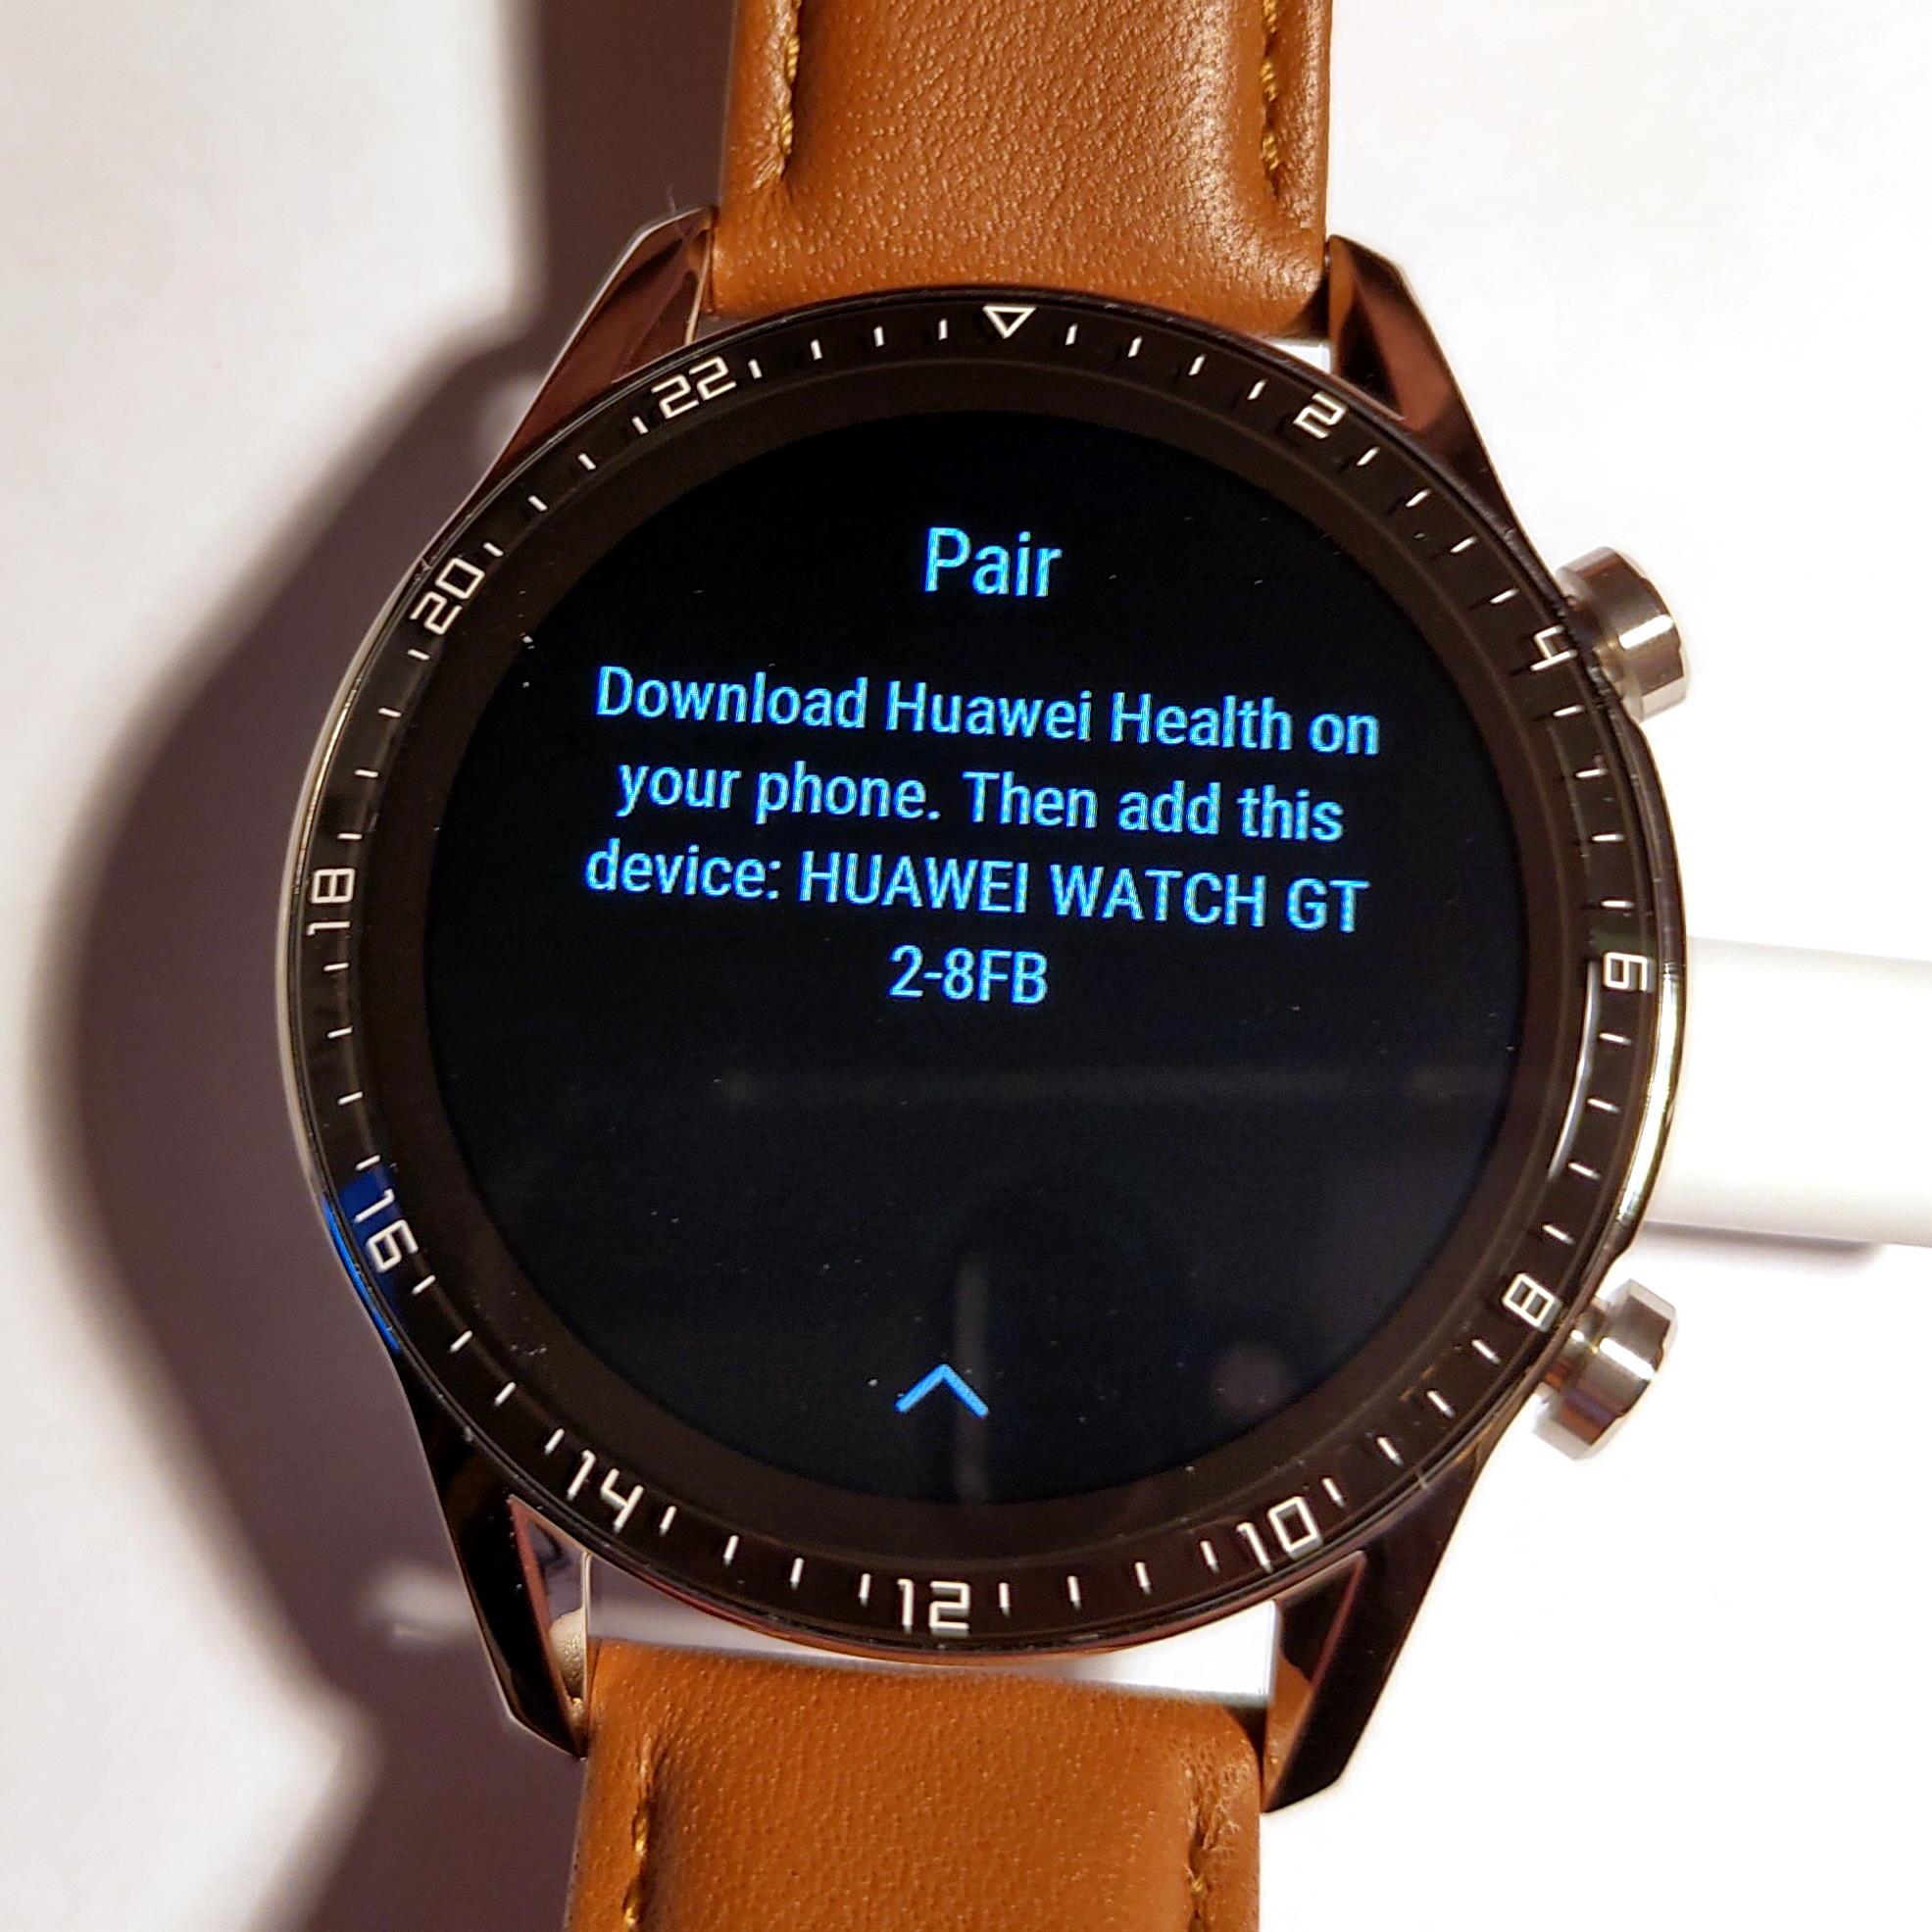
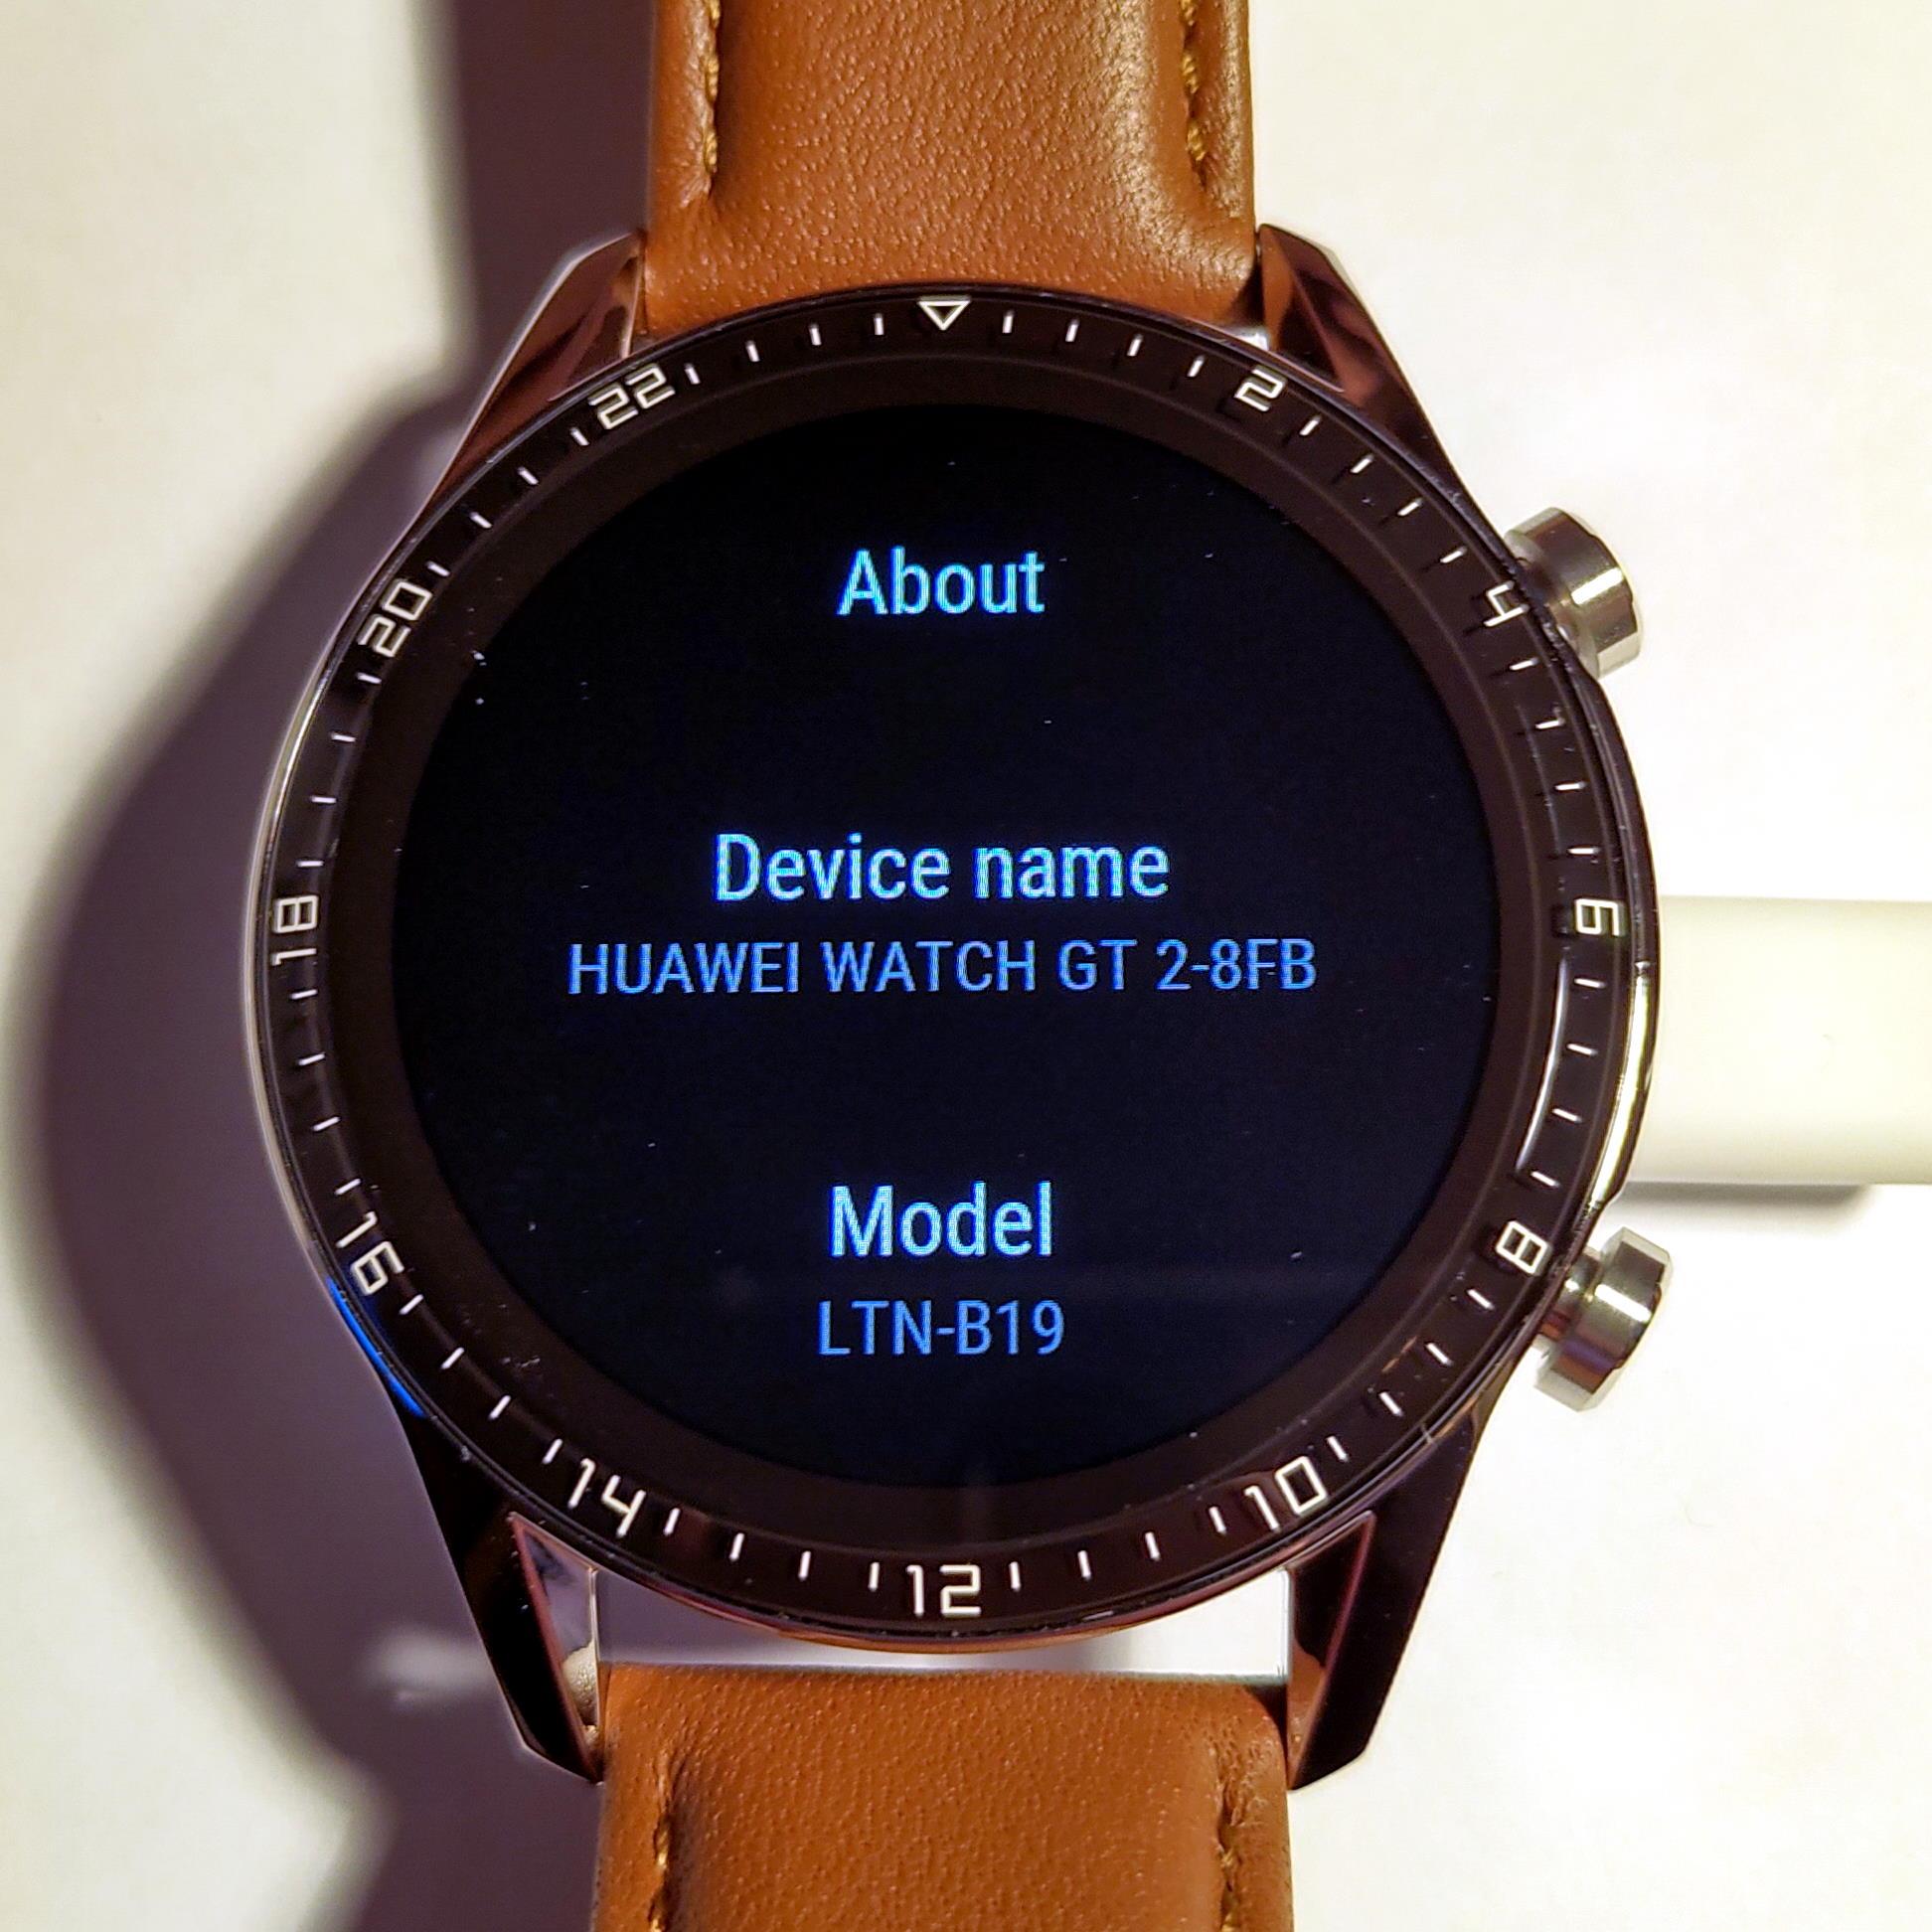
It only seemed to take about 15-20 minutes to charge to 100%. Apparently a full charge takes two hours. From the charging screen you see a language selection screen, and then you’re told to download the Huawei Health app on your phone and given the unique device name to use when pairing within the app.
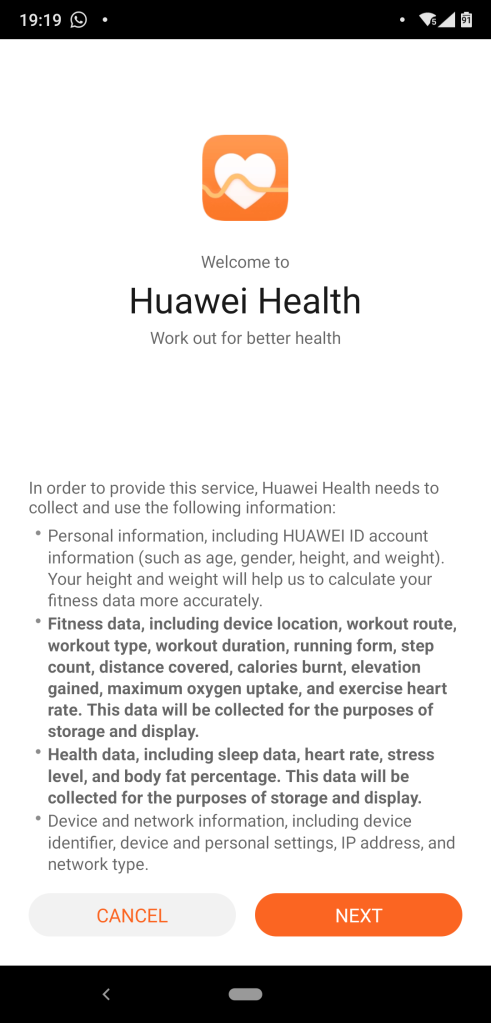
Health app
When you install the app on Android it then prompts you to also install the Huawei Mobile Services app, which doesn’t seem to do anything by itself, but must provide background services to the Health app. The Huwawei Health app, once installed, shows in the app list as just Health.
You need to create a Huawei account and grant a load of permissions. I’m pretty wary of this generally but the app and watch do have pretty broad functionality so naturally require the permissions to enable all that. The app does say that it’ll store your data on servers in Europe (I’m in the UK) which is good for compliance with GDPR.
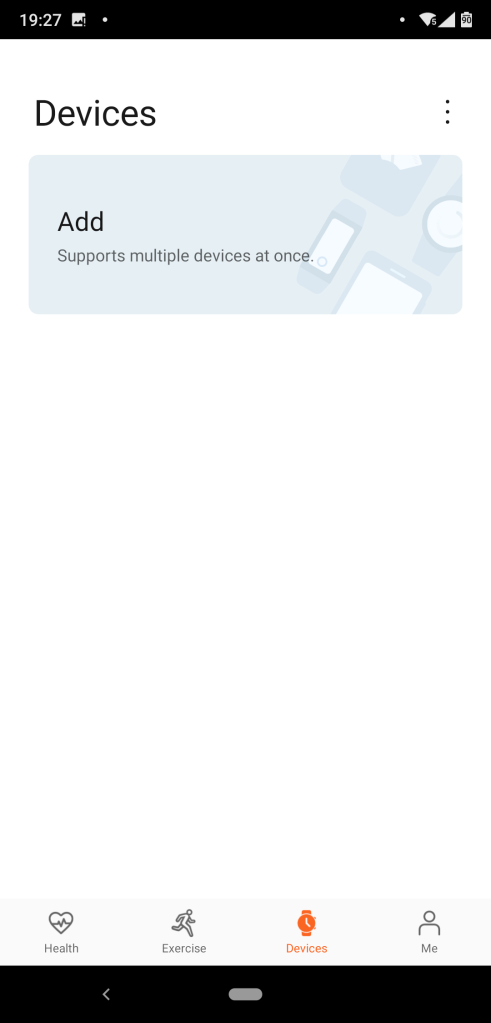
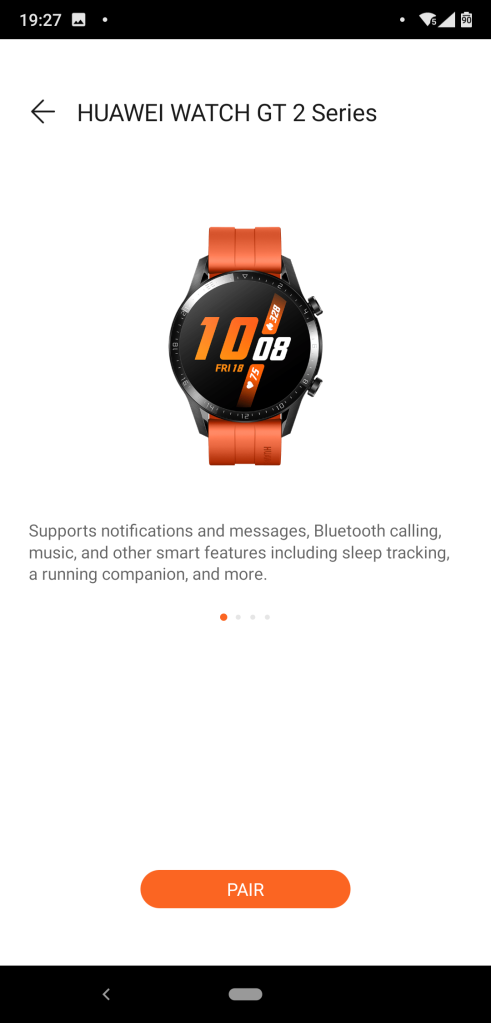
The pairing process itself is really simple and worked well for me, you just pick the model of watch you’re wanting to pair in the app, and then pick your watch from the list of discovered devices based on its unique ID as displayed on the watch.
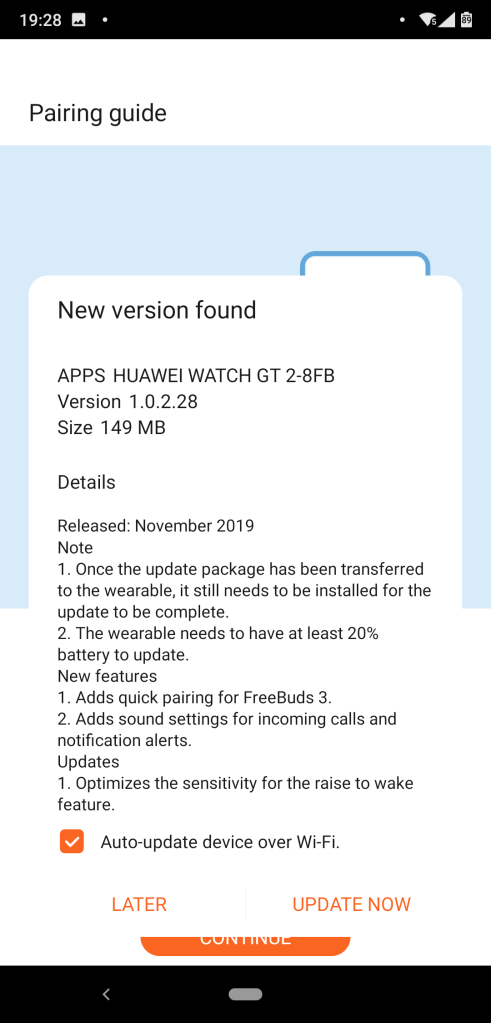
The next thing I was prompted to do was a software update for the watch itself. This process worked with no problems though did take maybe five minutes or more to download and install.
During the software update you get a progress bar on the watch display. After this update I then found another smaller update (3.9MB vs 149 MB) via the Firmware Update section of the app.
On the wrist
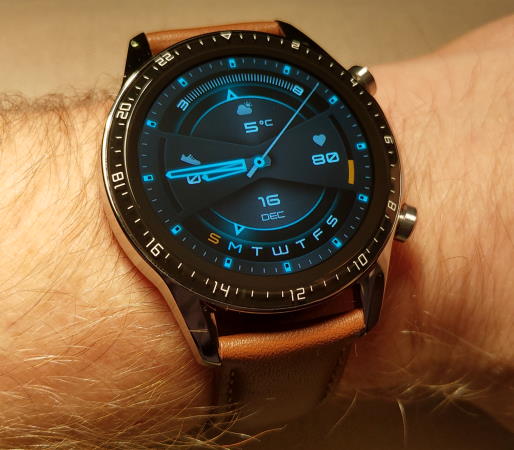
Once the watch was updated I put it on my wrist and started to experiment with the features. It feels very comfortable and isn’t as bulky as some other smartwatches I’ve seen. I’ve had it on for a few hours now and I almost wouldn’t know it was there.
It has various “standard” features such as waking up the display when you twist your wrist, and vibrating for notifications from your phone – though not WhatsApp by default for some reason – although I believe I have found where to turn notifications from other apps on now.
There’s various watch faces available, but I think once I find the one that shows the right information for me I’m likely to stick with it. The one above is the default, and it seems to pack a fair amount of data onto the screen.
The top button (called the “Up” button in the manual in the Health app) does various things including turning the watch on and off, waking the display, and showing the list of apps on the watch. The bottom button (“Down”) by default takes you straight into the fitness tracker, thought this can be customised, and allows you to select which activity you’d like to start tracking.
Finishing up
That’s my initial overview of the Huawei Watch GT2, and so far it’s all pretty positive. Tomorrow I hope to go for a swim and will find out how good the tracking is as I walk around at work. It’ll also be interesting to see how good the sleep tracking is – it’s already much later than I normally go to bed when I’m working the next day so comparing tonight with subsequent nights should be fun.